


How to Get Your OpenAI API Key: Step-by-Step Guide
Learn how to create an OpenAI account, set up an organization, add billing, and generate your first API key. A clear step-by-step guide for beginners.
OpenAI is currently the leader in the AI market. They provide powerful and relatively affordable tools that can be used for text generation, image creation, speech synthesis, and many other tasks. Access to these tools is made possible through the API. It is an interface that allows you to connect OpenAI services to your own apps or programs.
In this guide, we will go step by step through how to get your own API key and prepare it for use.
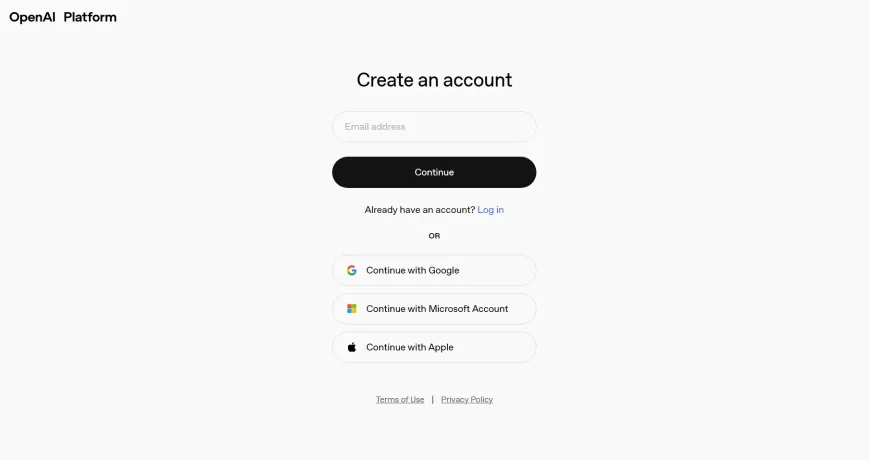
First, go to platform.openai.com. Click Sign up to create an account.
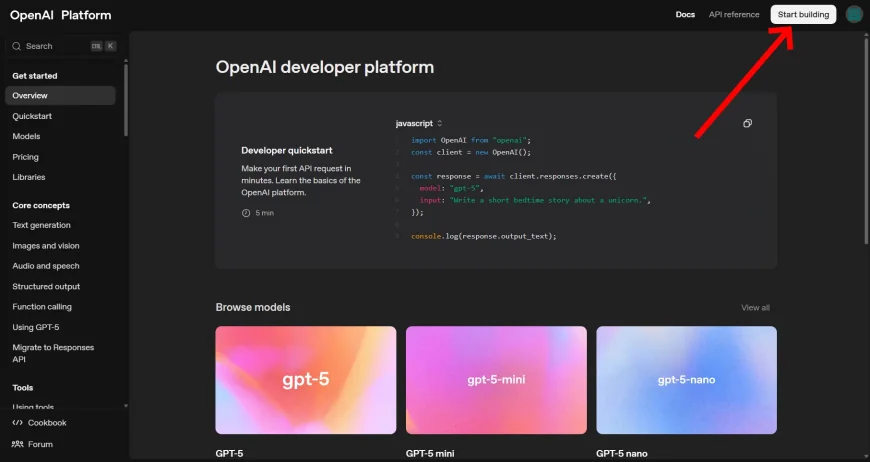
Next, click Start building. On the page that opens, you’ll need to create an organization, because all API keys are tied to one.
In the Organization name field you can enter anything — your name, a project name, or simply Personal. In the field below, choose the option that best describes you (Student, Hobbyist, Engineer, Data Scientist, Business Professional). This choice is only used for OpenAI’s internal statistics and does not affect functionality.
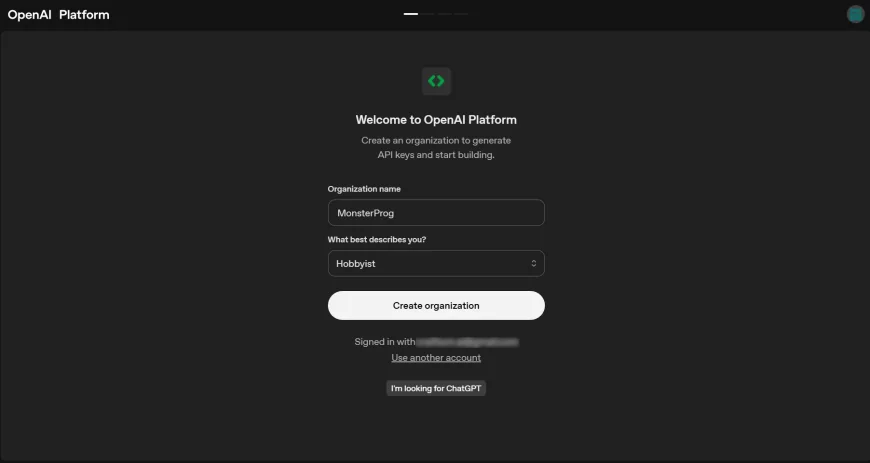
After confirming, your organization will be created.
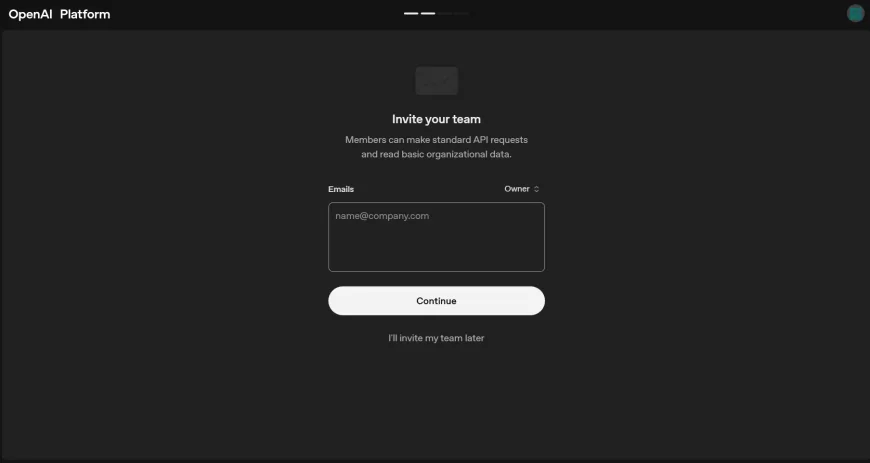
The next screen is Invite your team, where you can add teammates to your organization. If you’re working alone, you can skip this step by clicking I’ll invite my team later.
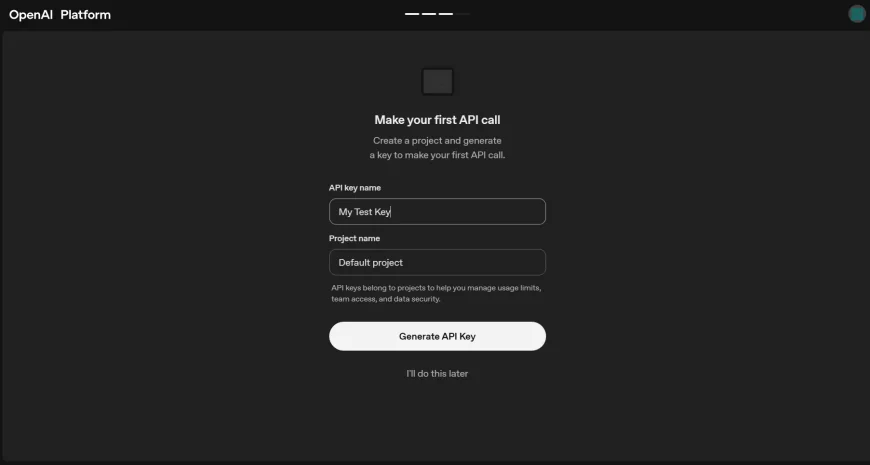
You’ll then see the Make your first API call screen. In the API key name field, enter a name for your key (anything you like, for example My TTS Key). In the Project name field, you can keep the default or change it. Then click Generate API Key.
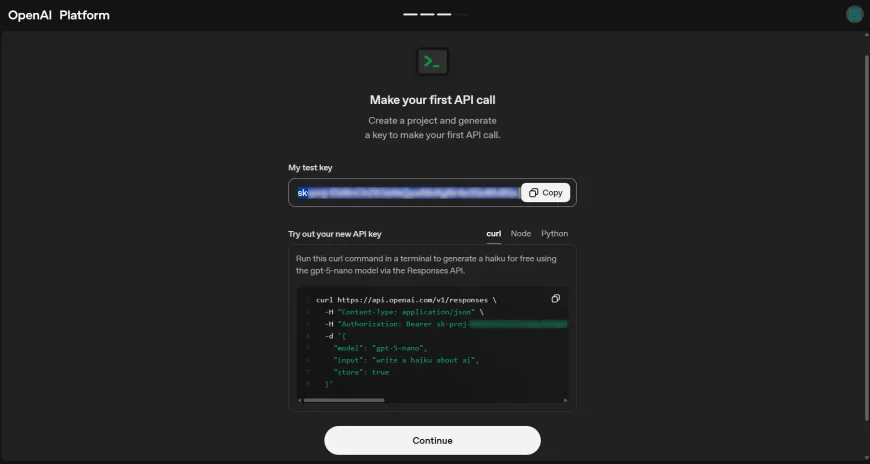
A window will appear with your new key, starting with sk-proj.... Click Copy and save it somewhere safe. You won’t be able to view the full key again later. Below, you’ll see some code examples showing how the key could be used, but for tools like OpenAI TTS GUI you don’t need them. Just press Continue.
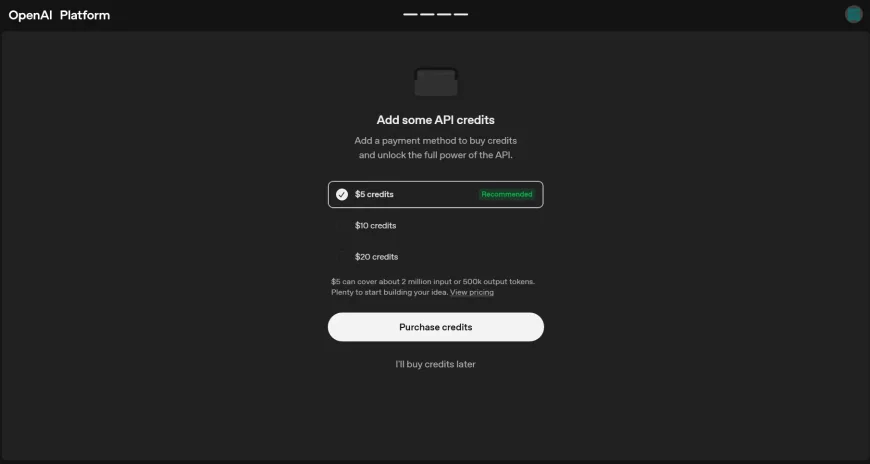
Next comes the Add some API credits screen. Here you’re prompted to add credits — $5, $10, or $20. This step is required for full access to the API, because without payment your key will either be limited to very small usage or disabled entirely. If you want to pay right away, select the amount and click Purchase credits. If you’d prefer to wait, you can click I’ll buy credits later, but keep in mind that to use the API properly you’ll eventually need to add billing.
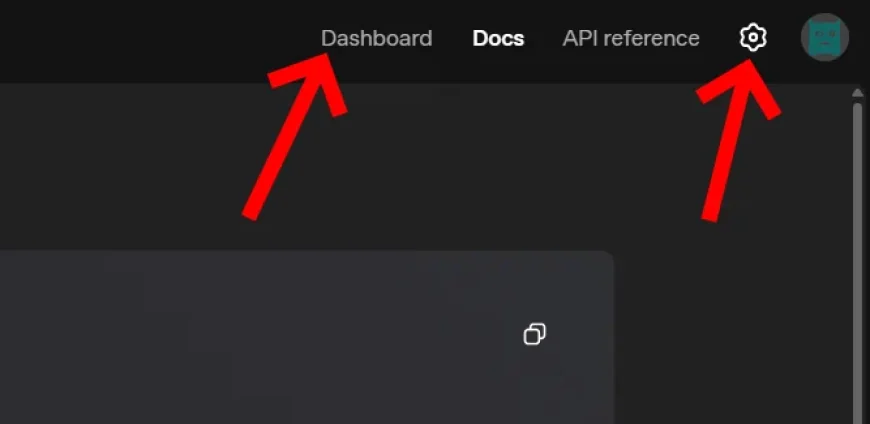
After that you’ll be redirected to the OpenAI Developer Platform main screen. From here you’ll have access to the Dashboard and the settings menu. This is where you can monitor your balance and usage, create new API keys, manage projects, add or update payment methods, and configure team access. At this point your account is fully set up, and you can use your key with any compatible application — including OpenAI TTS GUI.
Important
Treat your API key like a password. It gives full access to your account and credits, so leaking it can result in unexpected charges. Don’t post your key publicly or include it in code you share on GitHub or elsewhere. The safest way is to store it in environment variables or a password/secret manager. If your key is ever exposed, revoke it immediately in your OpenAI account and generate a new one.
OpenAI’s platform is constantly evolving, and some steps or screens may look different over time. If you notice differences or find mistakes in this guide, please let us know in the comments so we can update it and keep it accurate for other readers.
What's Your Reaction?
 Like
0
Like
0
 Dislike
0
Dislike
0
 Love
0
Love
0
 Funny
0
Funny
0
 Angry
0
Angry
0
 Sad
0
Sad
0
 Wow
0
Wow
0